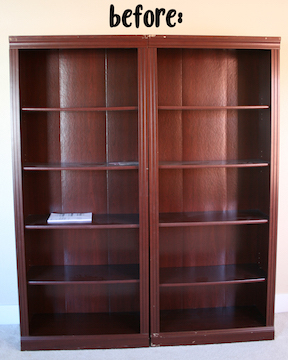
So remember when I said I think I’m more talented in the DIY home repairs then I actually am? Perfect example here. My stairs, the first thing you see when you walk in my house, were driving me crazy. I am on a quest to purge all yellow oak from my house, and these were the biggest offenders. I thought it could be a project I could work on at night while the kids were sleeping and be done in a week or two. Two and a half months later its finally done and was way harder than I thought. The total cost of this project was about $200 including the plexiglass (see below). To pay a professional would have cost thousands, but there’s a reason; this project takes a billion hours.
Let it be noted, the carpet would have been long gone too if I didn’t have small children that still take frequent falls on the stairs. I think if I had the choice again, I would have just painted everything white. But, if you’re crazy, and what to know the gory details, read on my friend, read on.

 STEPS (all products purchased at Home Depot and Lowes):
1) Wash all wood with gritty green sponge. I had left over deglosser from this project, so I used that. As with all the steps GO WITH THE GRAIN of the wood.
2) Use a very smelly and awful chemical called STRIPPER (insert many fume-induced jokes here). This began the problem of why I couldn’t work at night why the kids were sleeping. The fumes for this and future steps were just too much and too dangerous. I had to take the kids to grandma’s house for a few days while my husband did the smelly steps.
Back to the stripper. This stuff is tricky. Read the directions carefully. You glob it on with a paint brush, wait ten minutes, then wipe it off with a cloth. You can’t leave it on too long or you have to wash it off with mineral spirits (step 3) and start over. This step strips off all old polyurethane, taking away the shine.
3) Using a rag, wipe everything down with Mineral Spirits. This should get everything nice and clean. You should be down to the plain rough wood. Sand everything here if needed. (Remember, all these steps take FORVER!)
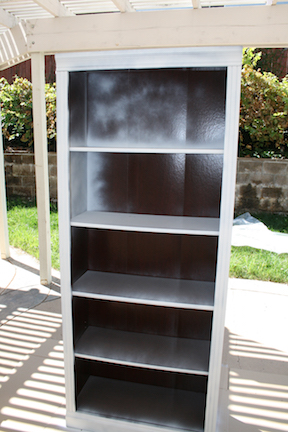
4) Do 2-3 coats of stain on parts you want stained. I used a foam brush using a stain color called Rosewood. I did 2 coats, wish I would have done three. Everything turned out lighter than I would have hoped.
 5) This step is optional. I did a black stain with a foam sponge, let it dry a minute or two, then wiped it off. It ended up giving a two-toned look.

 6) The polyurethane is next. This is the worst step, smell wise. If you can, leave the house for a few days. If you have kids, don’t let them sleep at the house for at least a few nights. Read and follow the directions carefully! We did two coats, fine sanded, then one more coat. Awful, I tell you. After this step, I took a two-week break. It took a few days for my husband to like me again too.
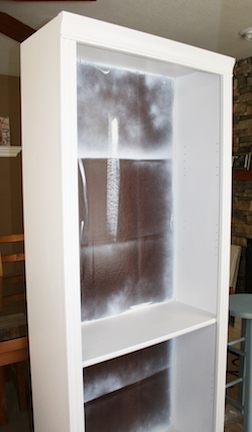
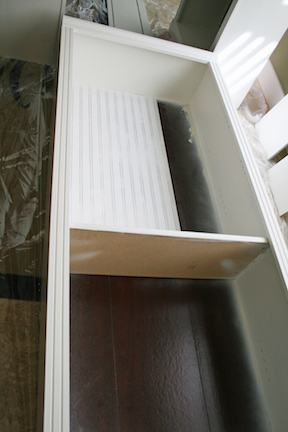
7) We let the polyurethane cure for a week or so. Then I taped everything off to begin painting the trim. I first primed everything. I used Swiss Coffee (Behr brand from Home Depot) since that’s the color of the rest of the trim in my house. I used a high gloss finish with a very fine tipped paint brush. It took a quart and a little more to paint everything with two coats. This was the only step I could do at night while my kids were sleeping. Some trim pictures:


 8) Our spindles on the second story are a little too far apart for my comfort with my small kids. We’ve had this not-too- pretty netting up. I switched it out for plexiglass. They will cut it for you at Lowes, but we drilled the holes in ourselves for the ties.
 Finally, done!


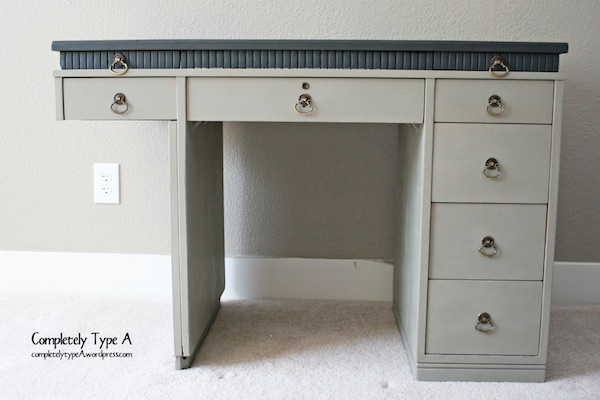


 The vanity:
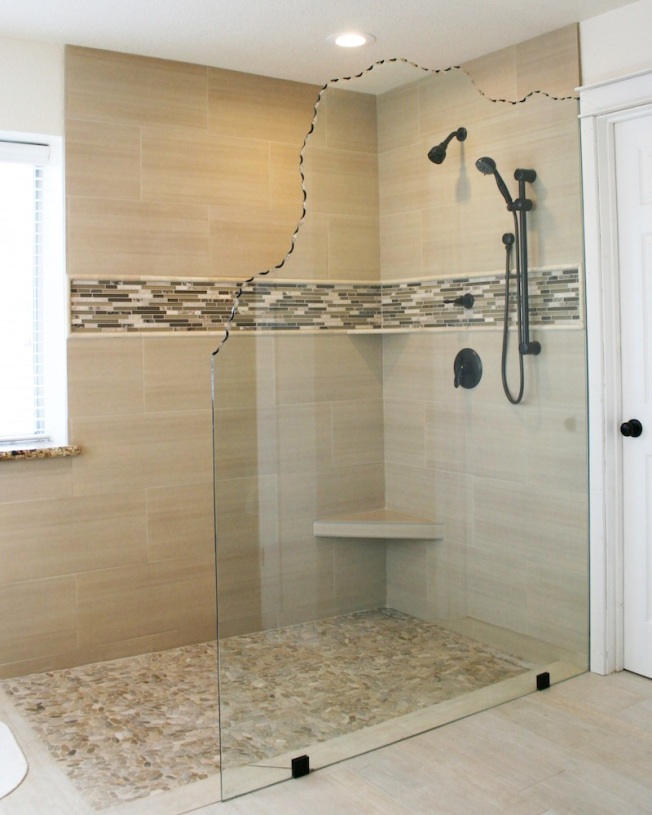
 Where the tub used to be, but for now empty. We might add a free standing tub later, but for now I’m loving the empty space. I’ll probably just put a small shelf with towels in the corner. I love the 12×24 tile on the walls. The whole bathroom is grouted with mold free grout. Sweet.
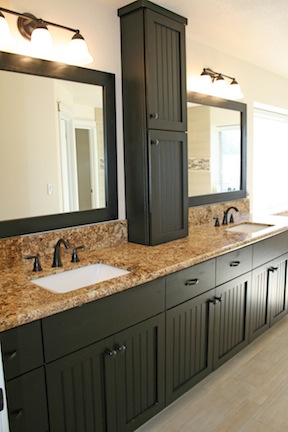
 A few close-ups, here’s one of sinks:
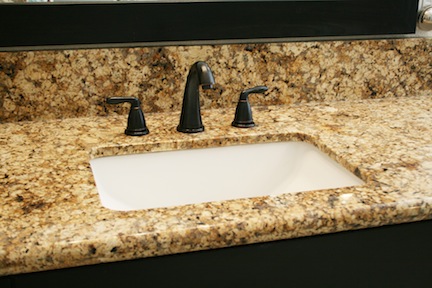 Here’s the tile floor, it looks like white washed wood, and I LOVE IT.
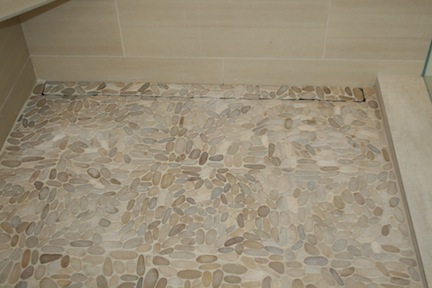 Some of the tile detail in the shower.
 This new bathroom is a million times easier to clean and is now the nicest room in house. We might just have to have Thanksgiving dinner in here…


